USECASE
From Digital Sculpt to Ultra High-Res Creature
Meet the Artist: Giulio Gagino
Hi everyone, my name is Giulio Gagino, and I am a Character Artist currently based in Italy working as freelance and mentor for sculpting and modeling. I’ve always been focused on digital portraits and photorealism since I approached digital art and CG, but in the last couple of years I’ve developed a stronger interest for creature design and anatomy.
In this article I’ll be sharing the process behind creating this creature, showcasing some of the techniques I used inside ZBrush and how integrating SKAP made a huge difference in achieving the final result.
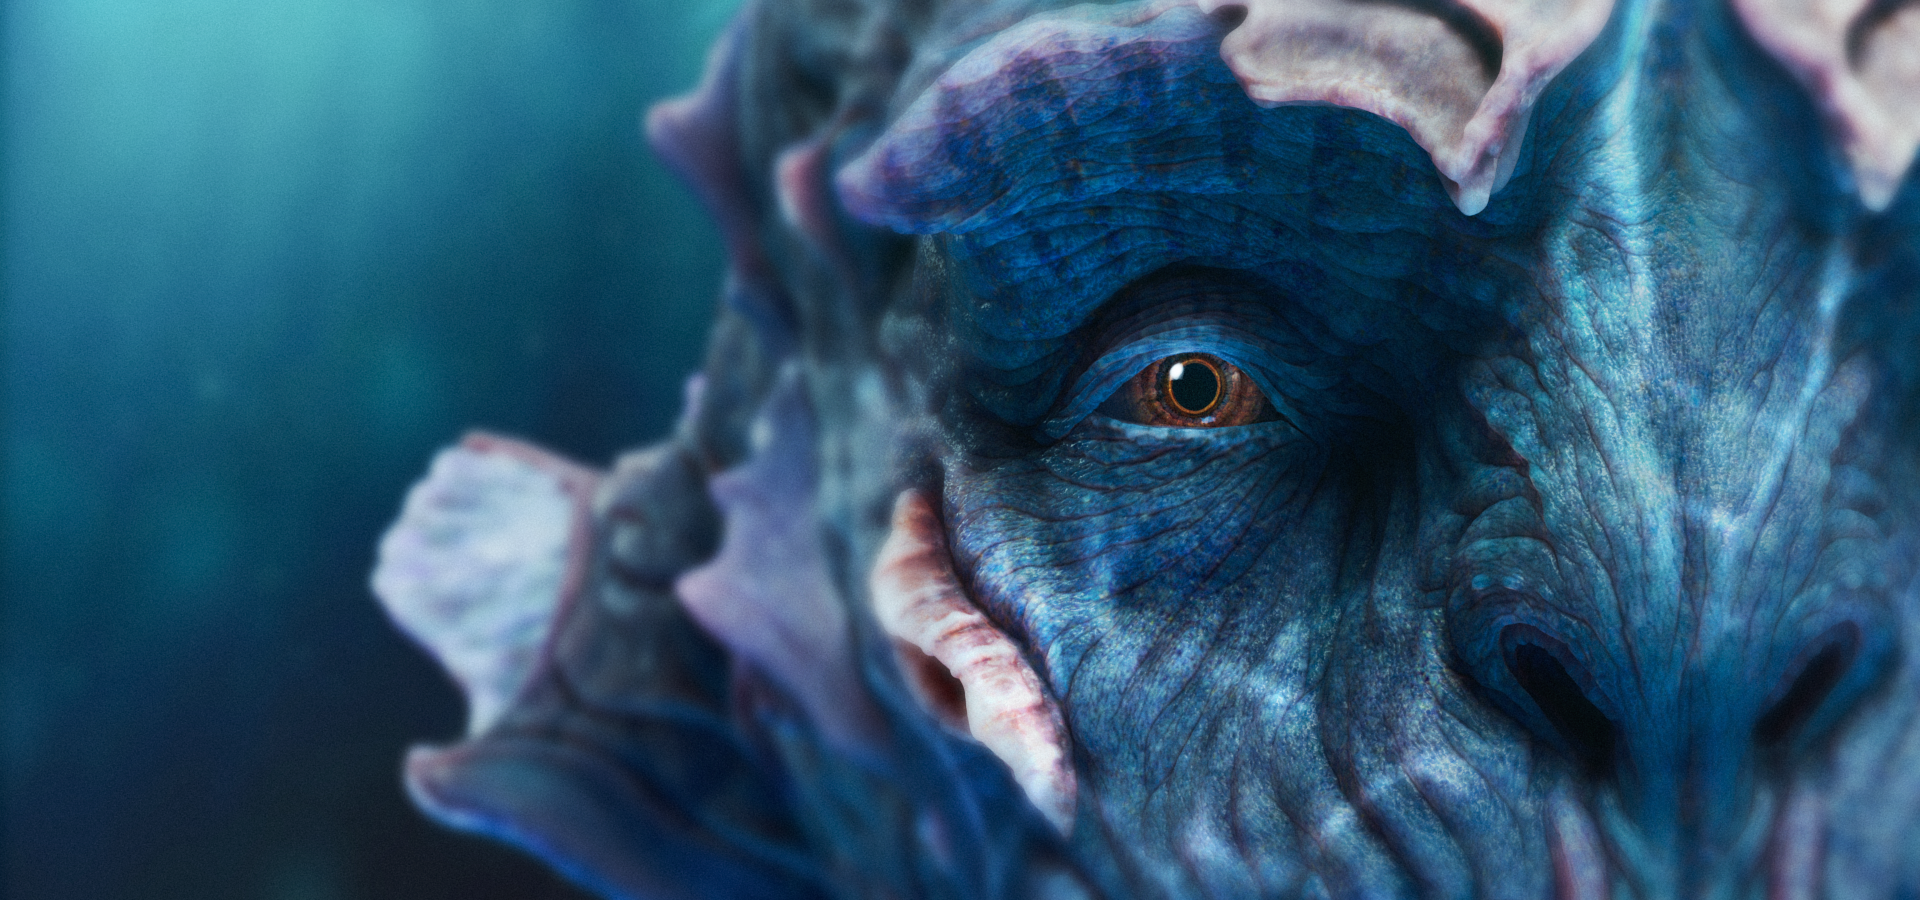
Project preview (ZBrush + SKAP)
Design Exploration & Sculpting Setup
When I started this project I wanted to create an undersea creature, and while looking for inspiration I came across the amazing mermaid character from GOW Ragnarok. I decided to incorporate parts of its anatomical features into a different character based more on a personal design, and I took the time to explore different variations.
Once I established the primary and secondary shapes I started focusing on tertiary forms and details. Since I was aiming at a photoreal result, I knew that using scan data for skin details would have been the best choice. Normally I’d use a back-and-forth workflow between tools (for example painting displacement in Mari, then returning to ZBrush to refine), but SKAP let me stay in ZBrush and focus on the creative side throughout.
For this project, I used alphas from the femaleFace_60s_02 map old enough to provide interesting skin texture, but still subtle so I could manually add extra wrinkles and variation where needed. I intentionally kept the detailing light to leave room for SKAP to process and enhance the surface.
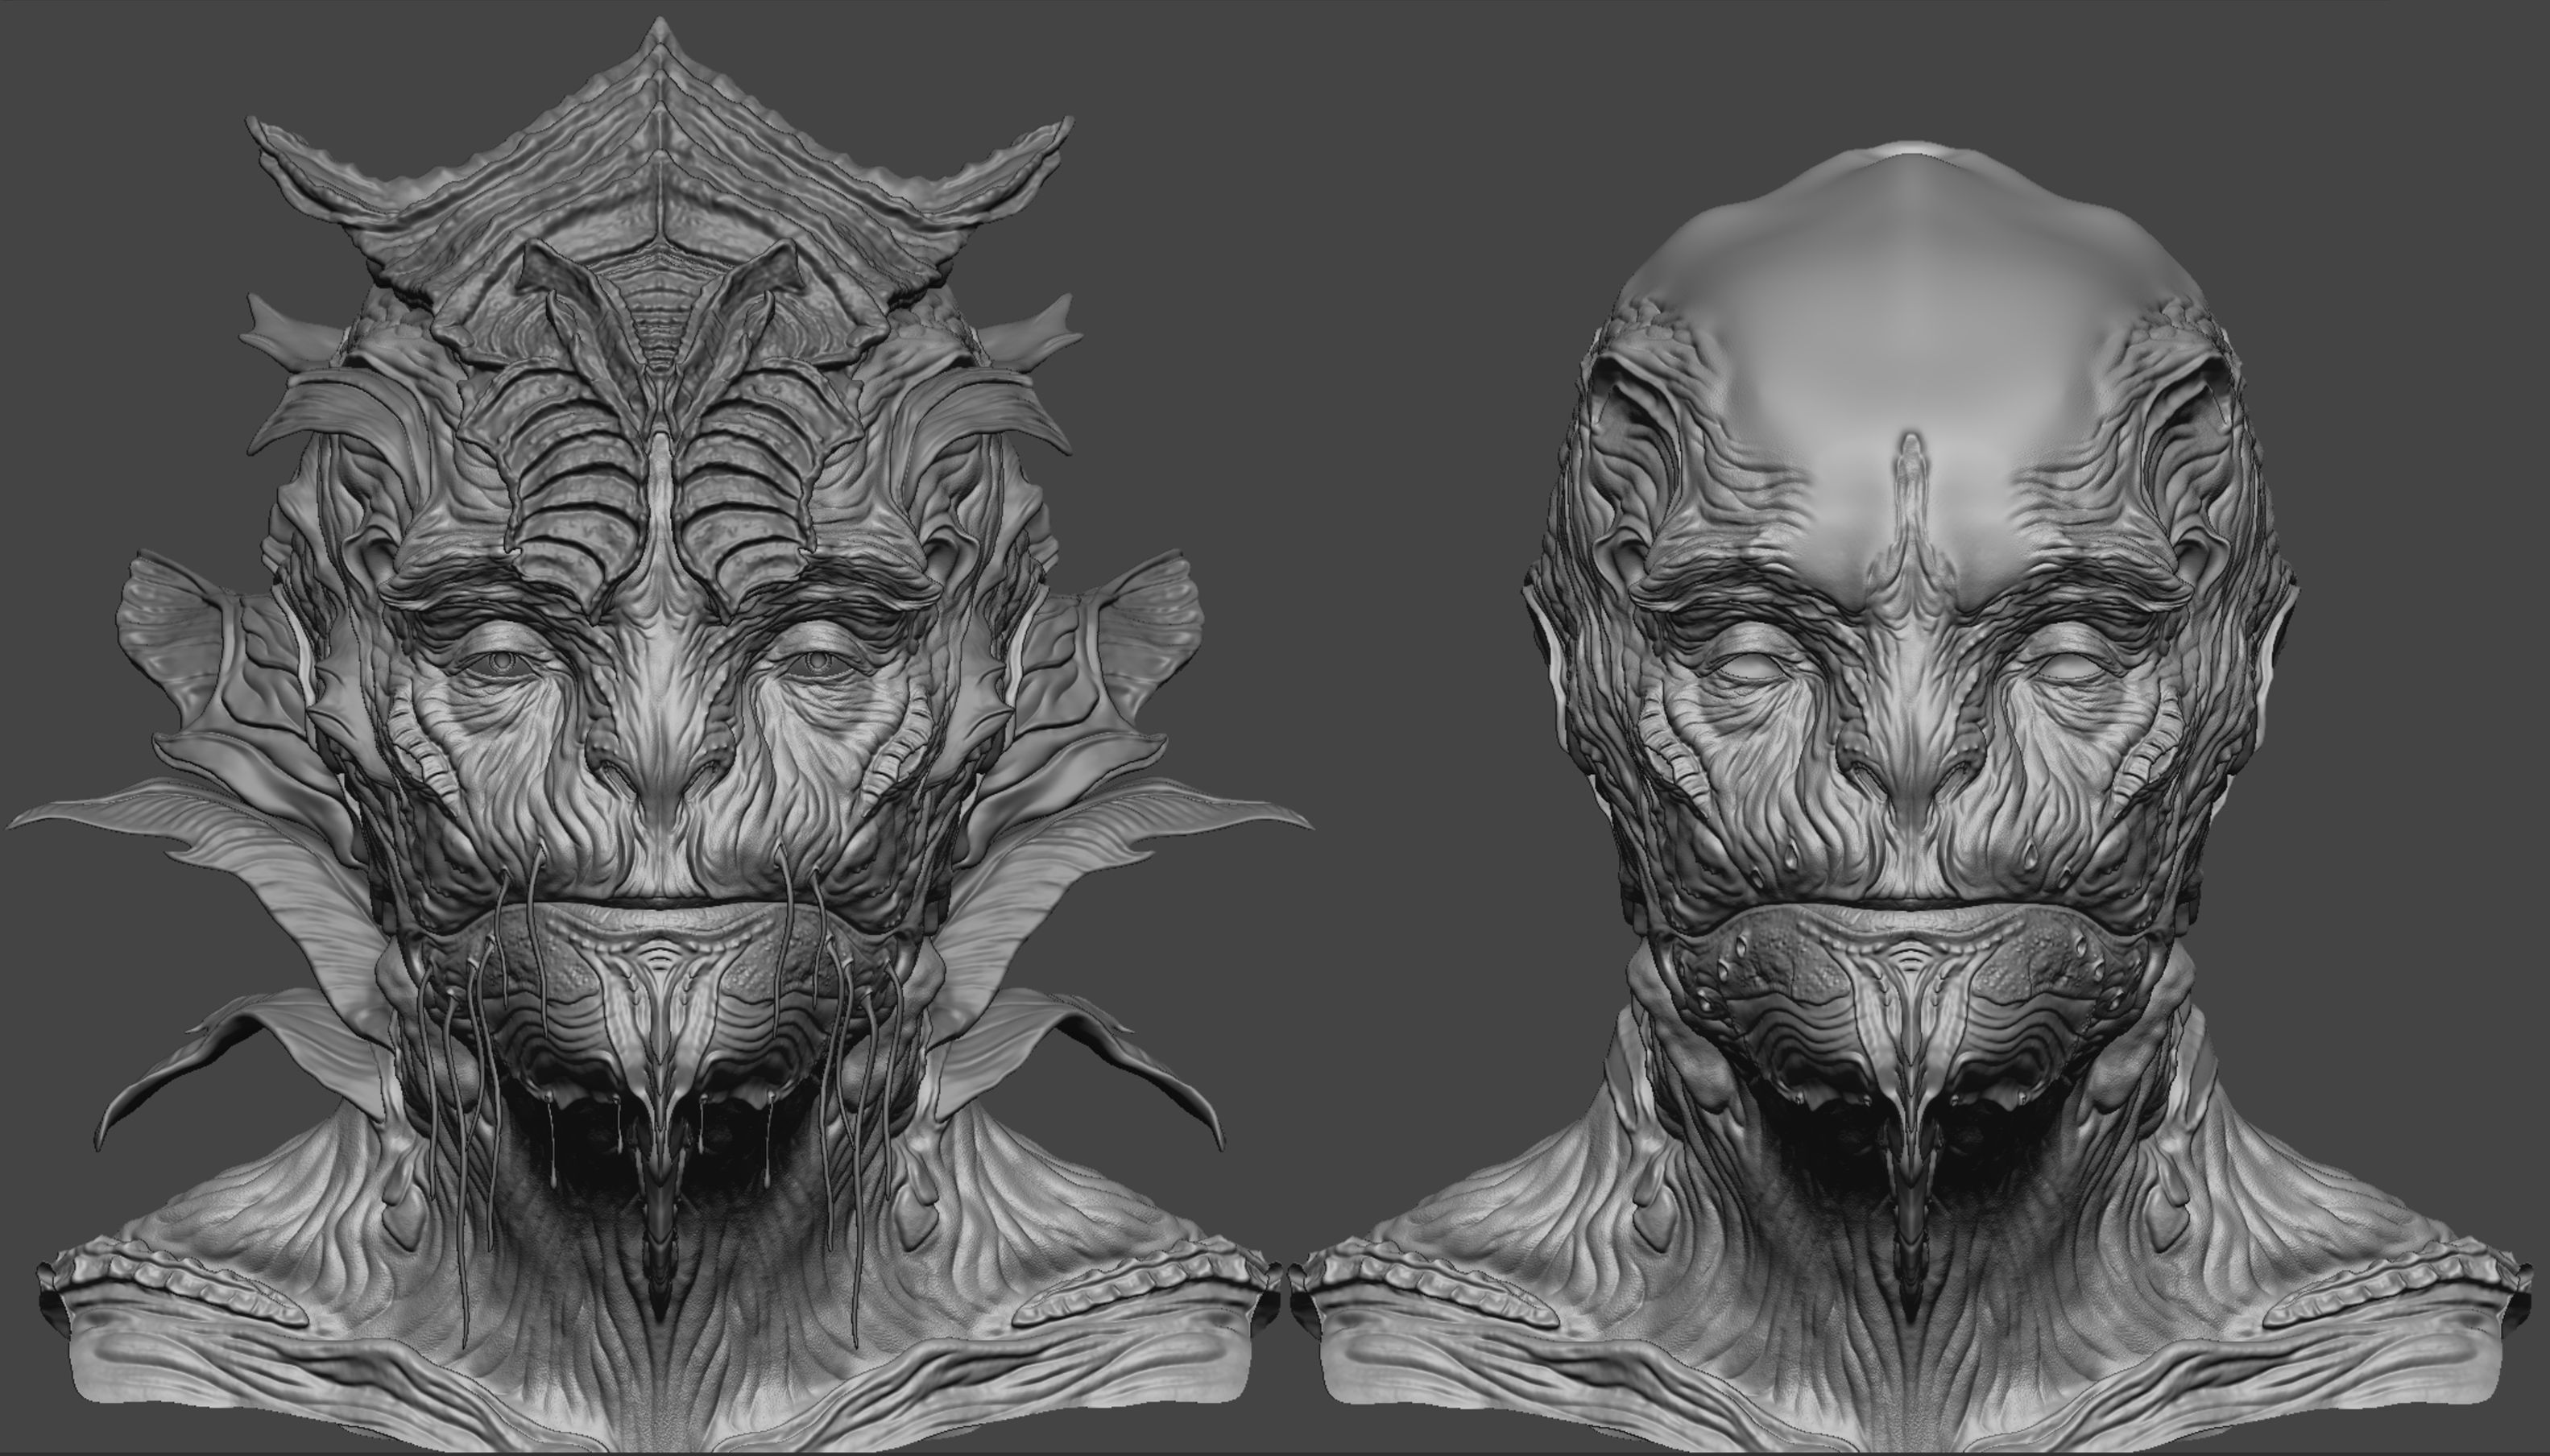
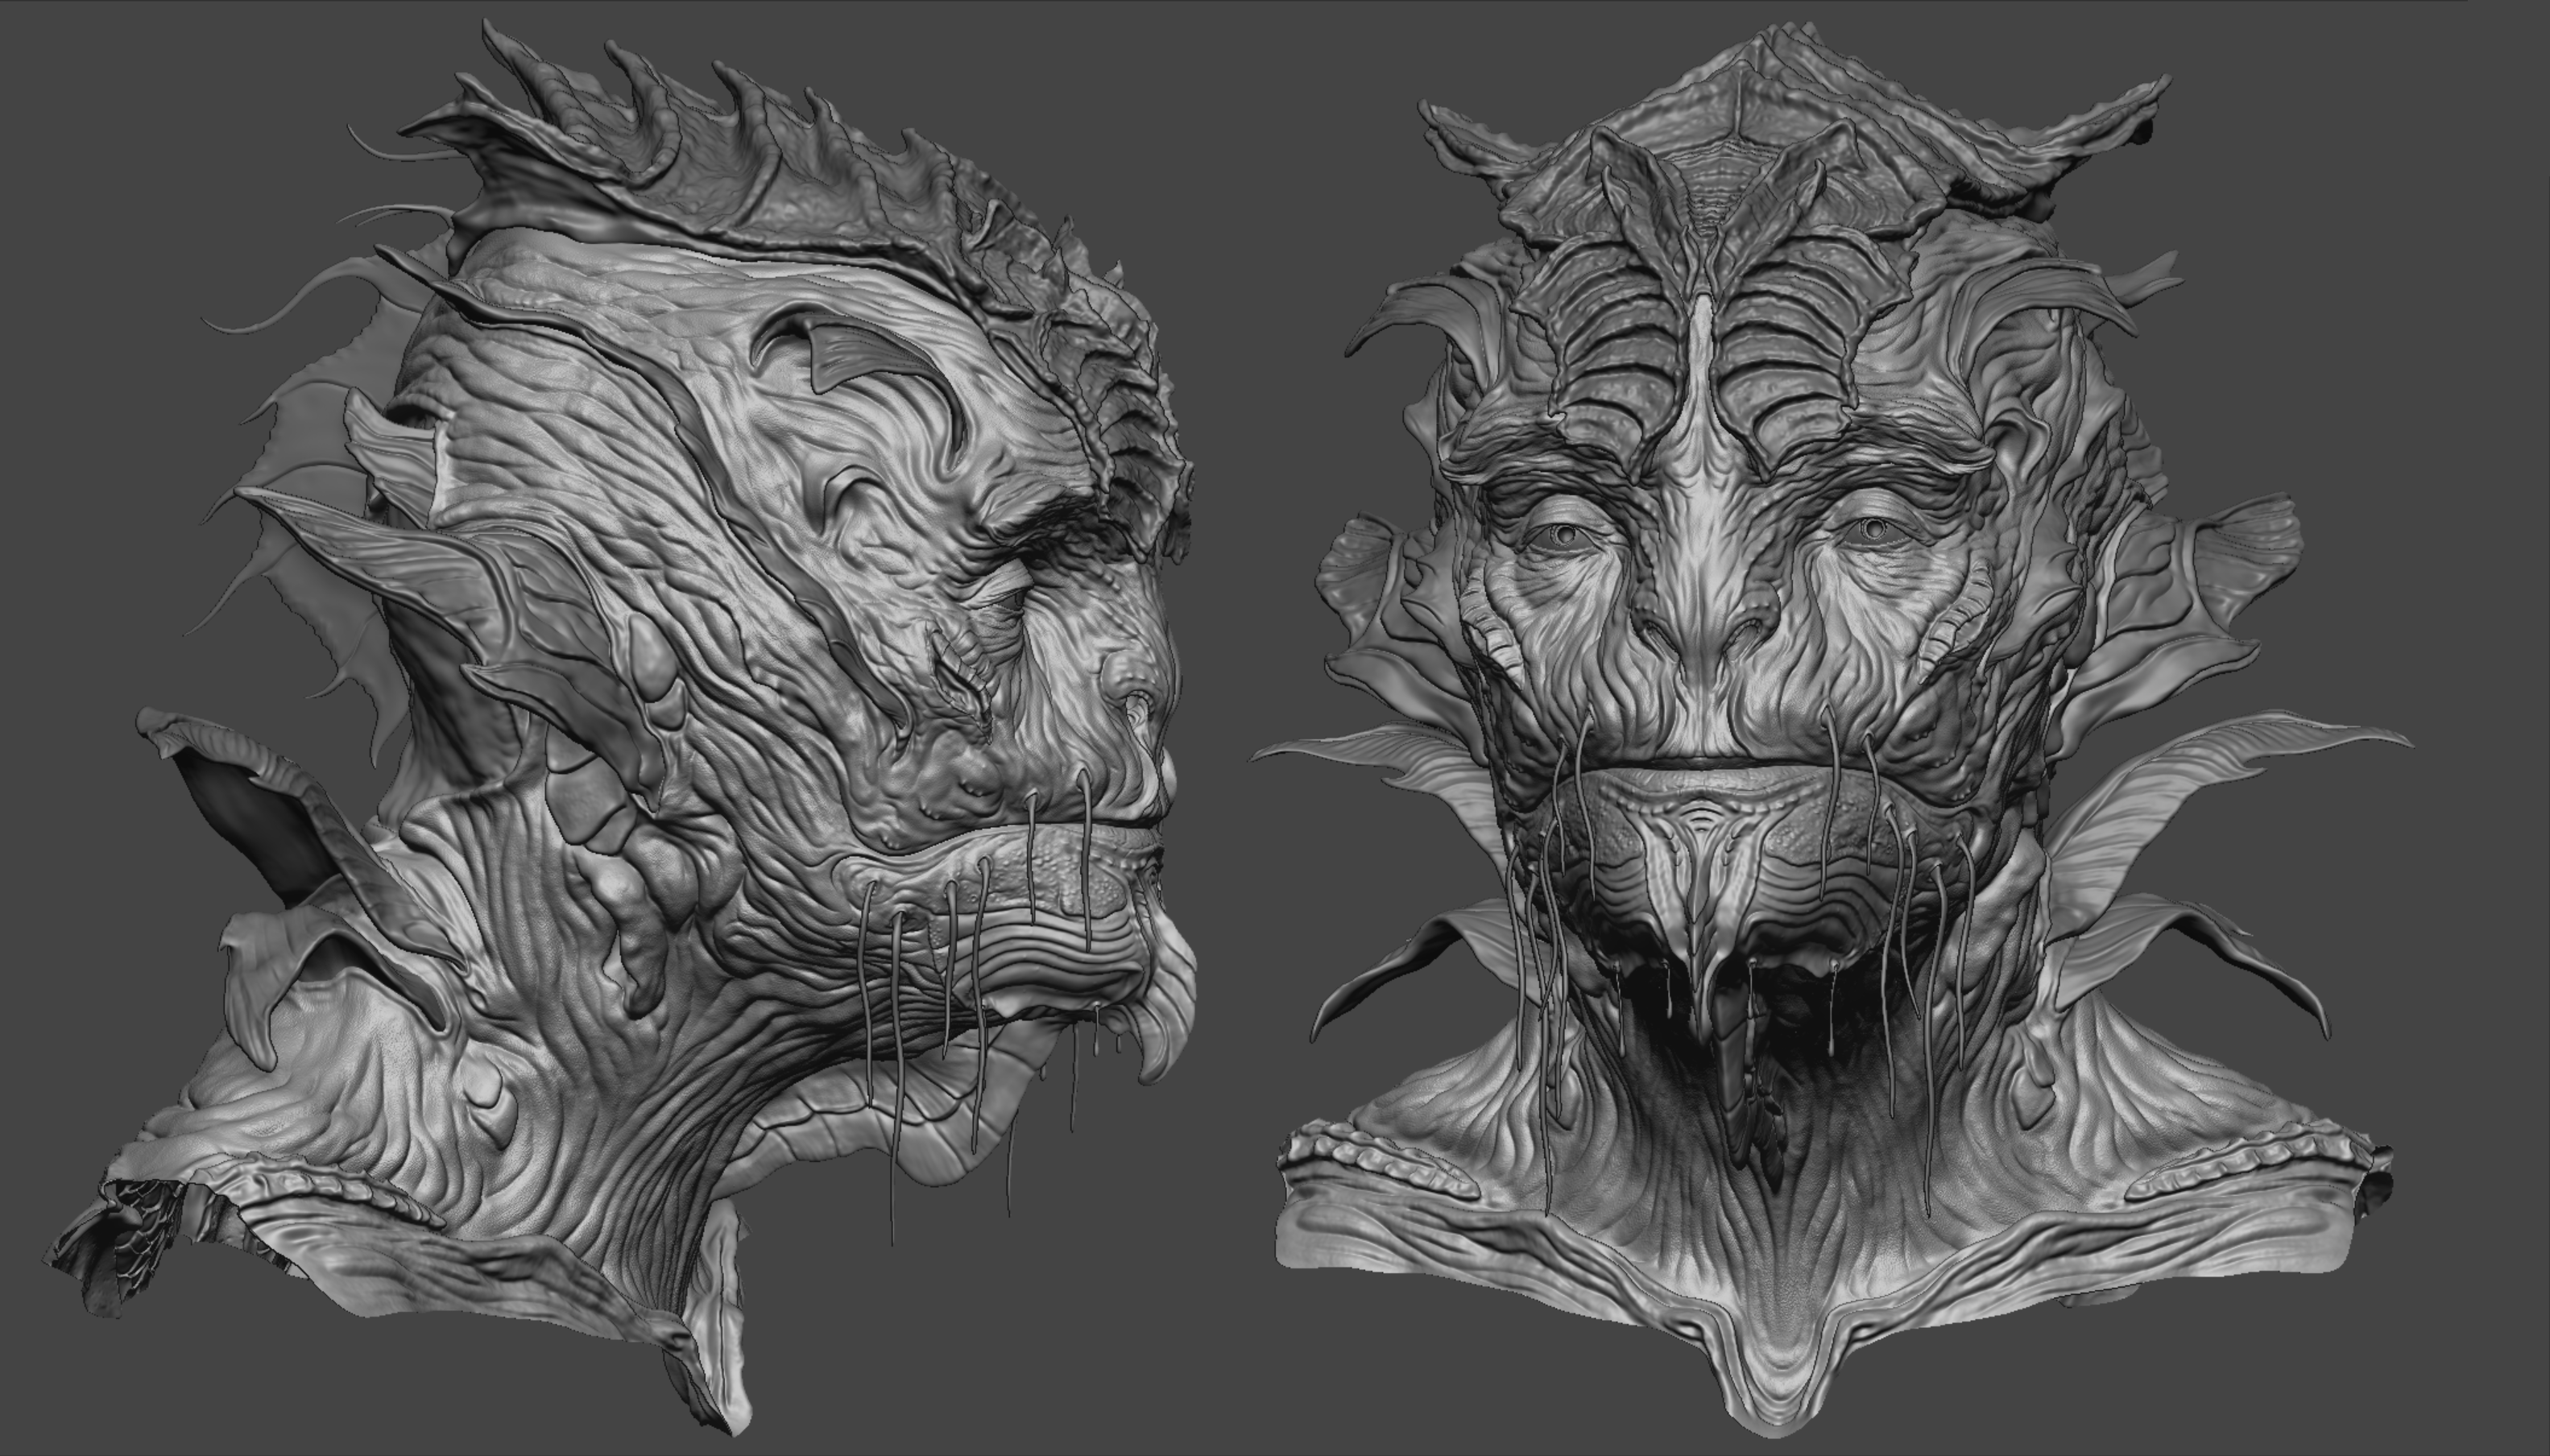
Before starting detail work, store the morph target. Then sculpt your details a bit stronger than usual. Once satisfied, switch to the morph target and, using the morph brush at low intensity (around 3-5), blend and reintroduce details where needed. This gives you much better control over intensity across different areas.
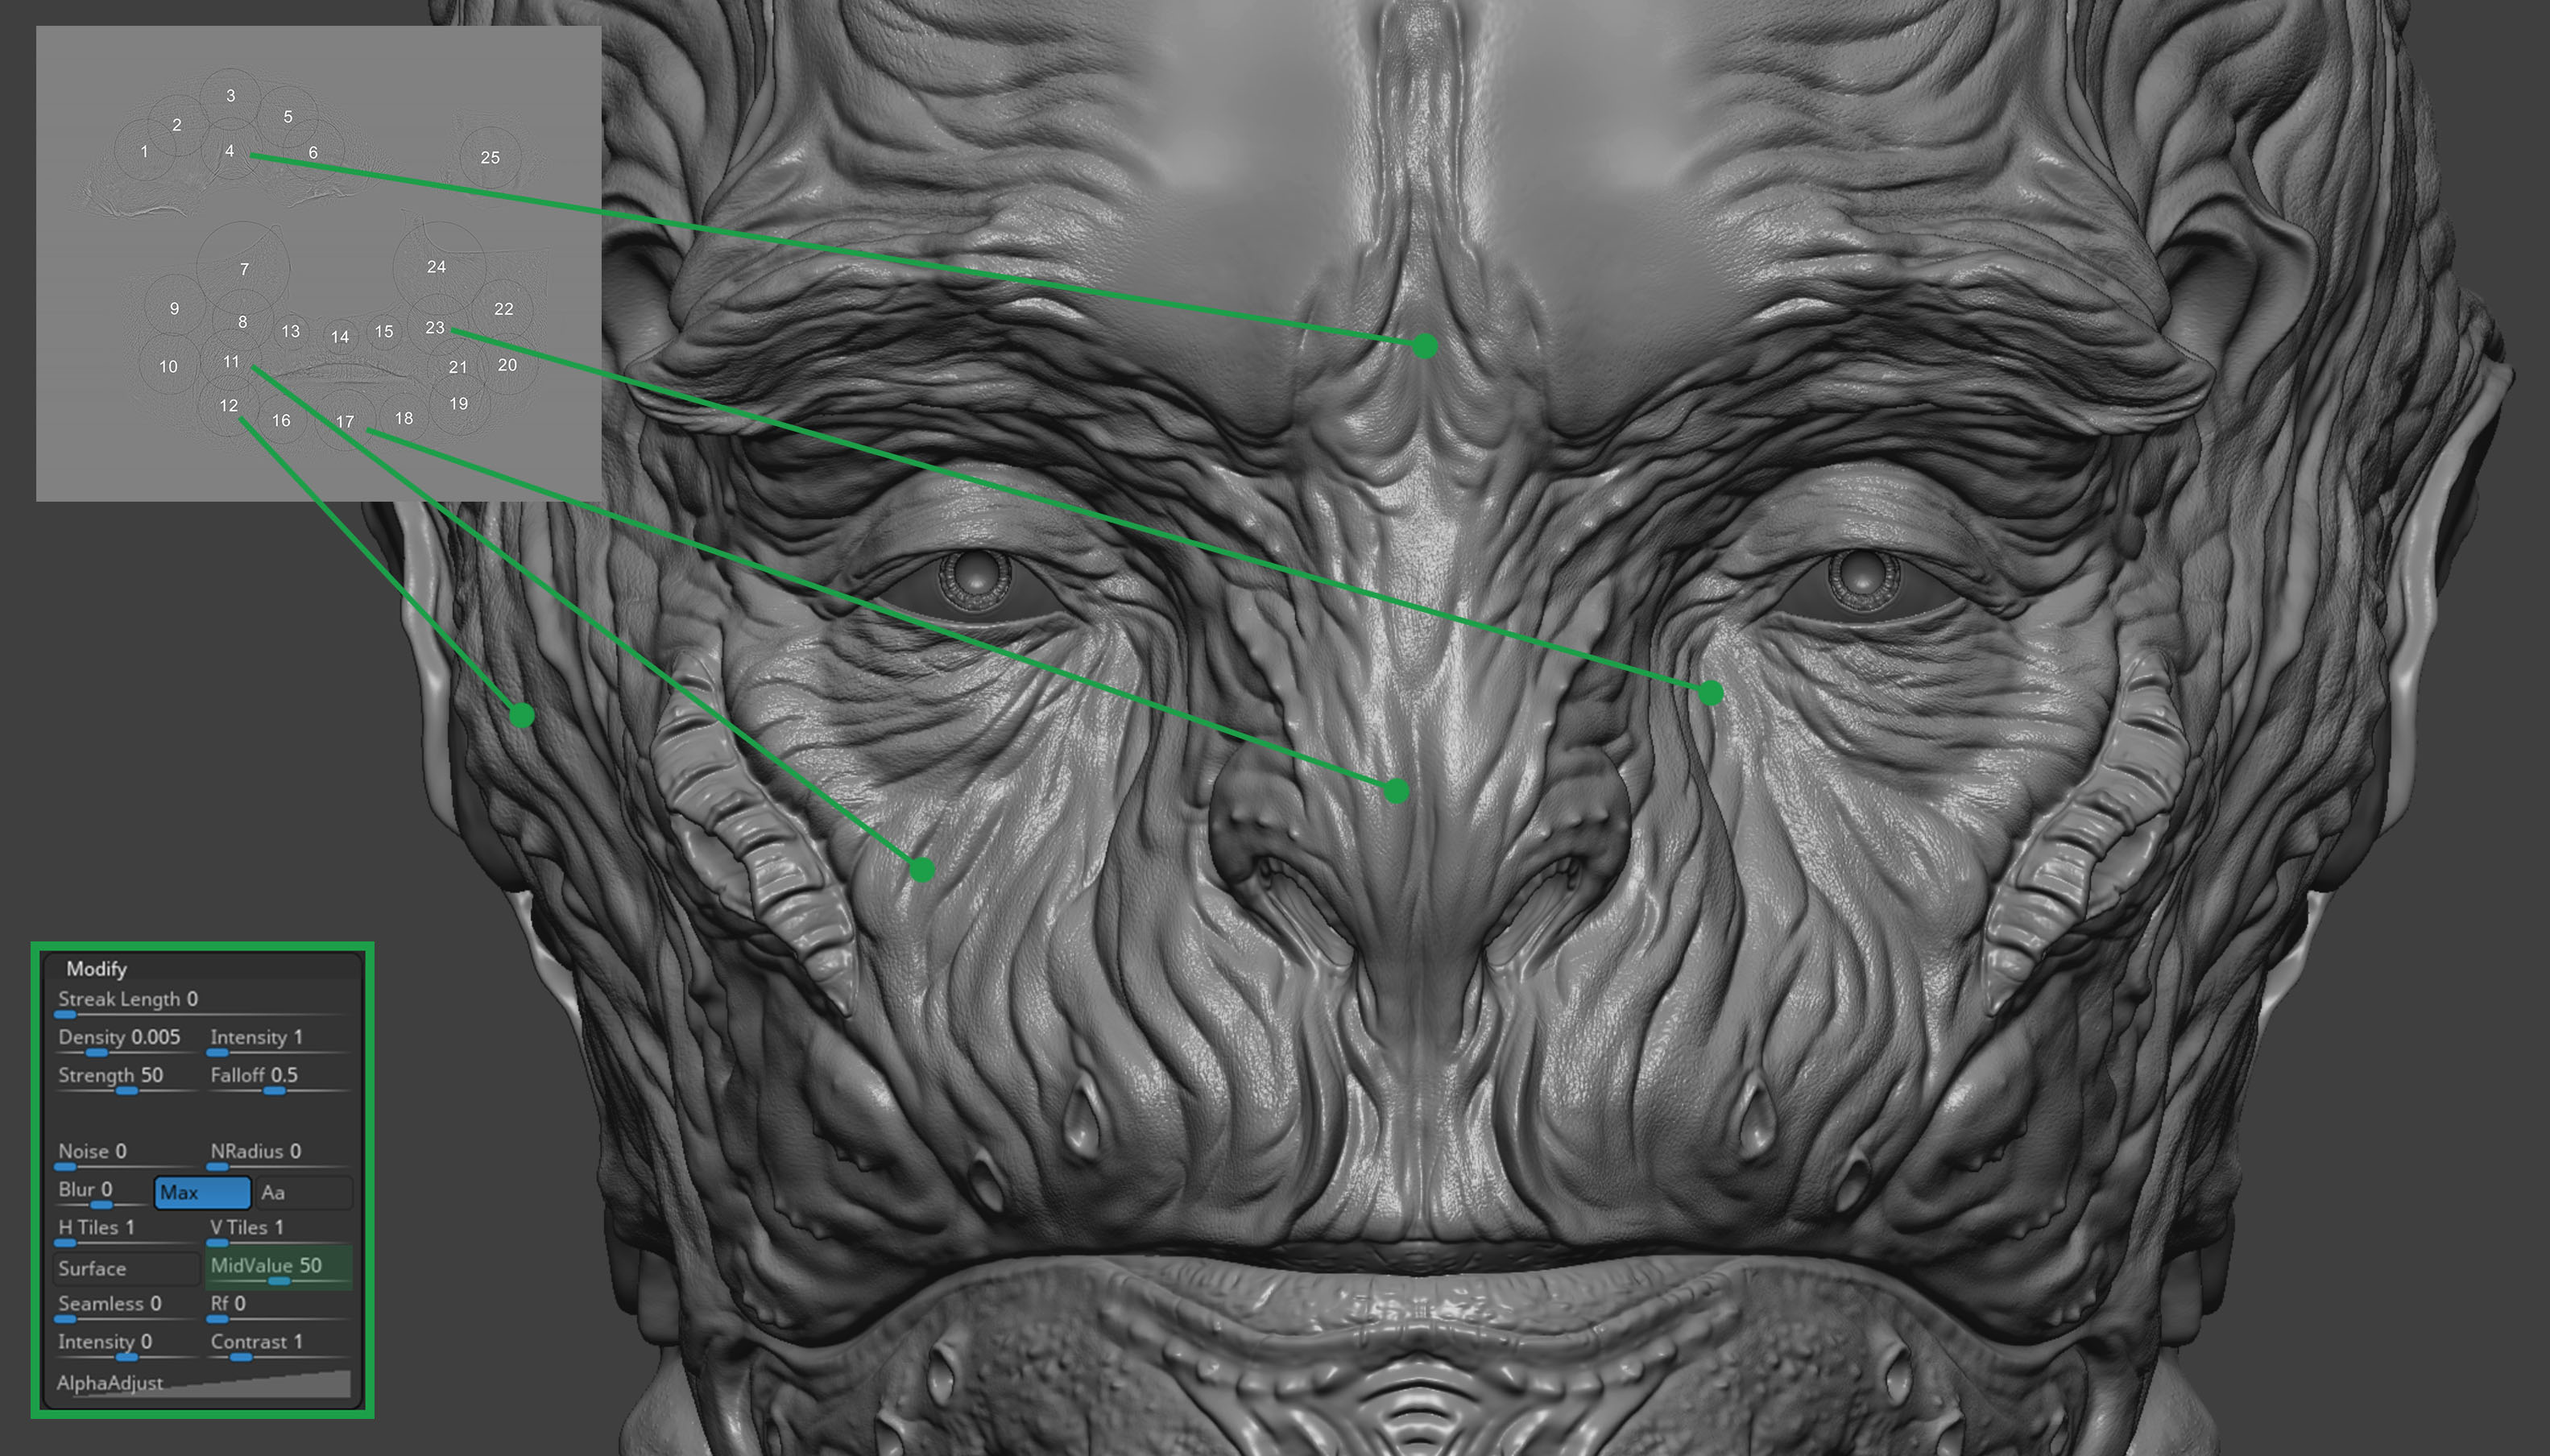
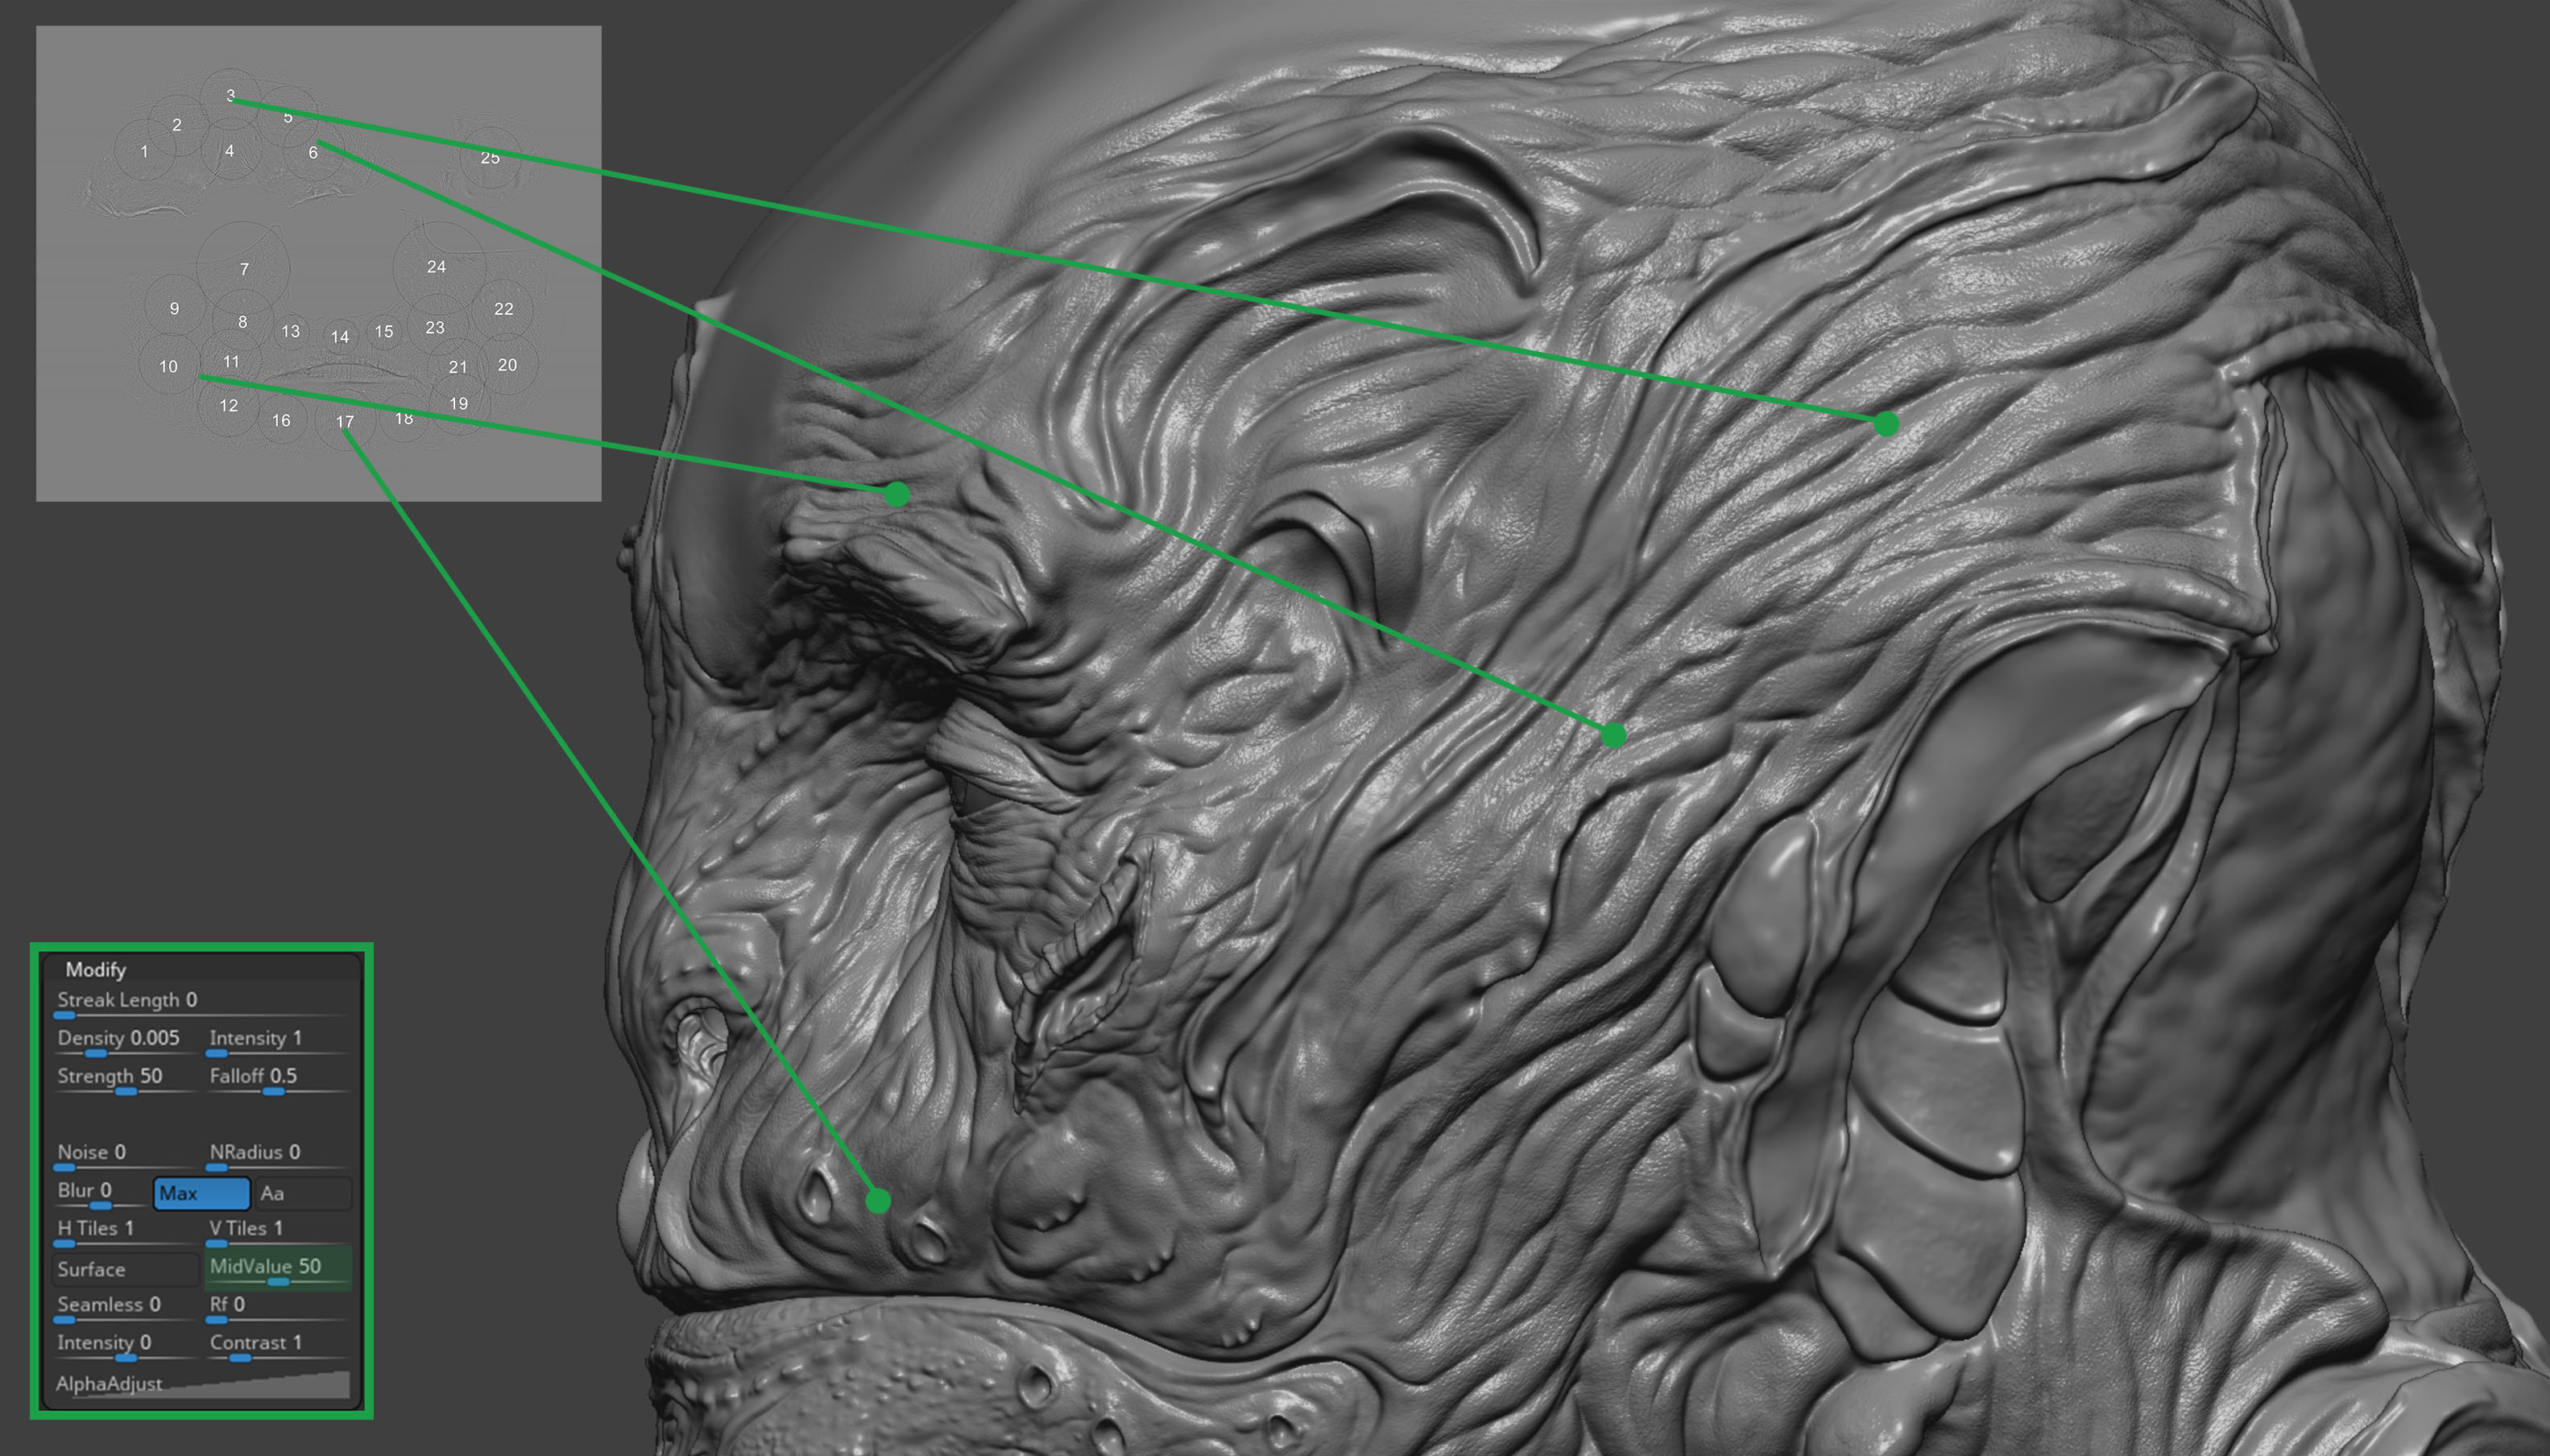
Always remember to check your alpha mid value and set it to 50. This helps the brush behave more naturally and reduces the risk of a “bumpy” effect when dragging alphas.
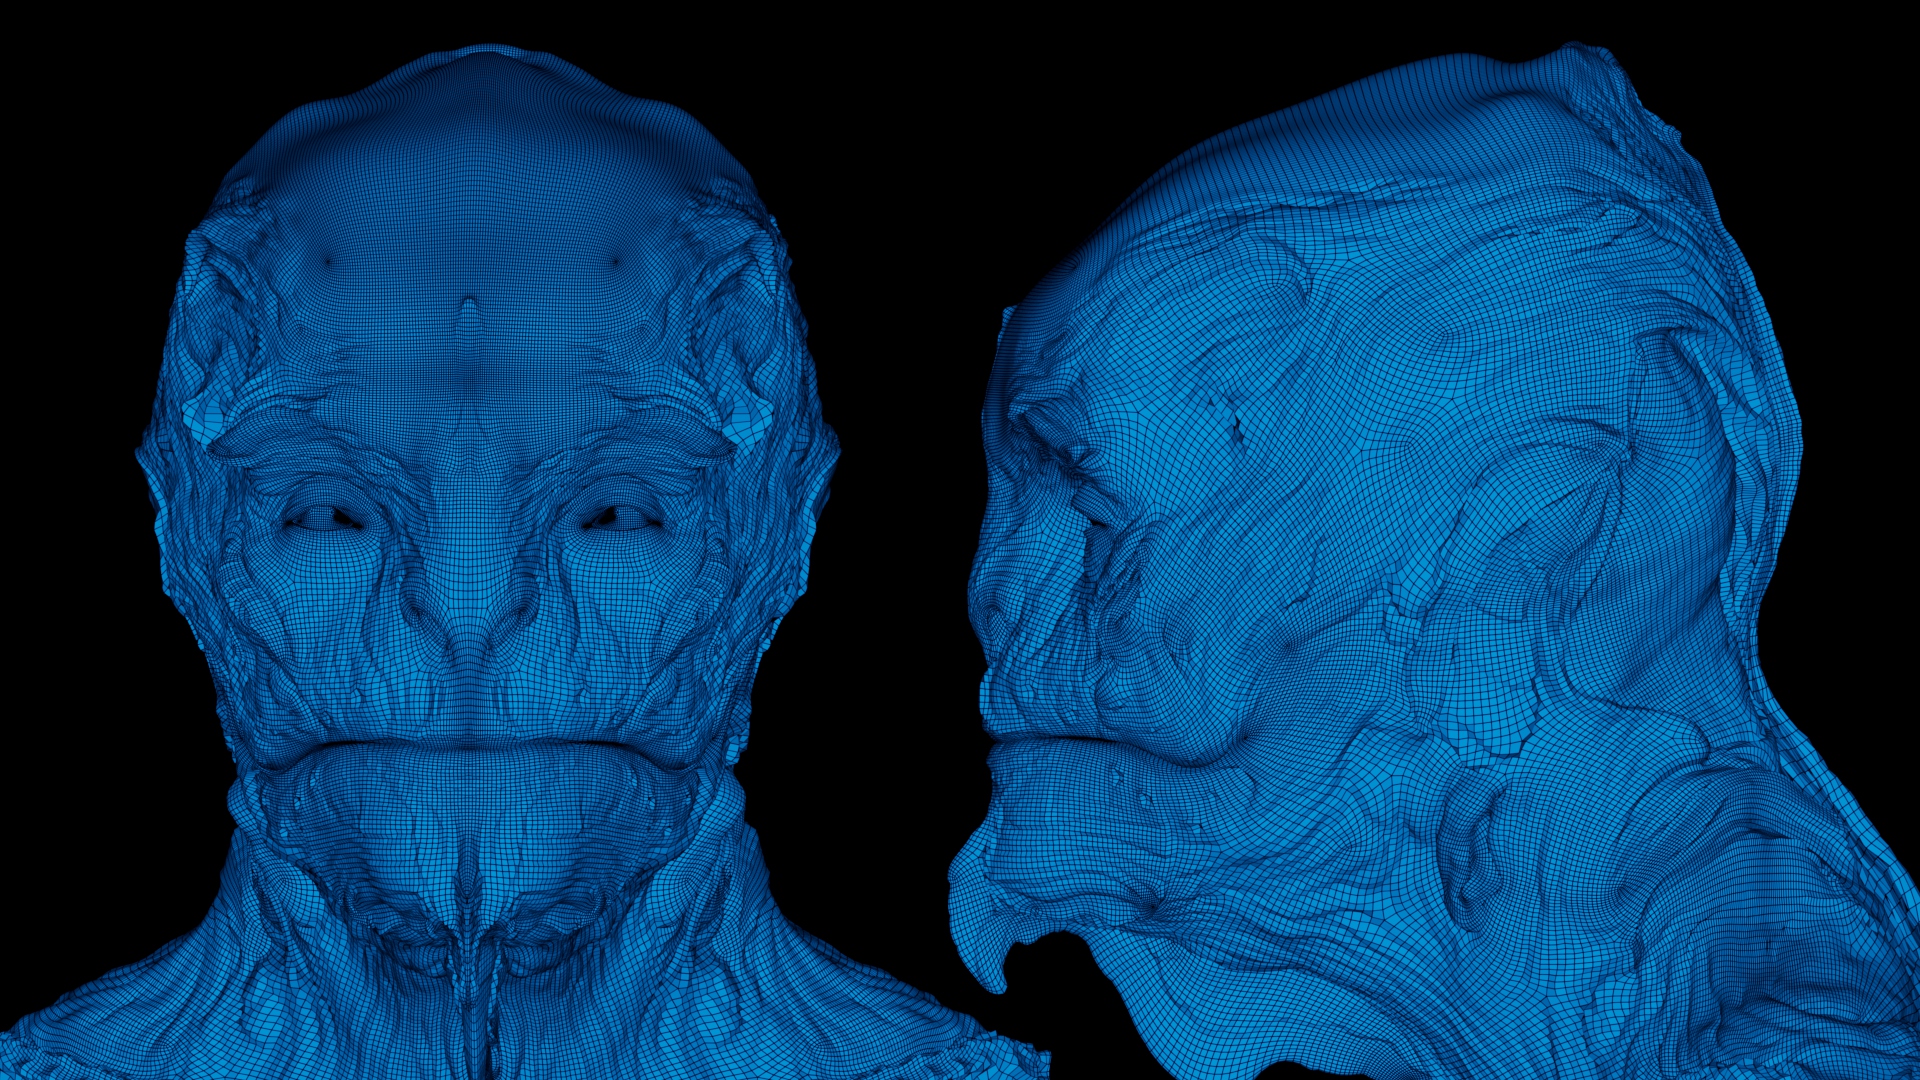
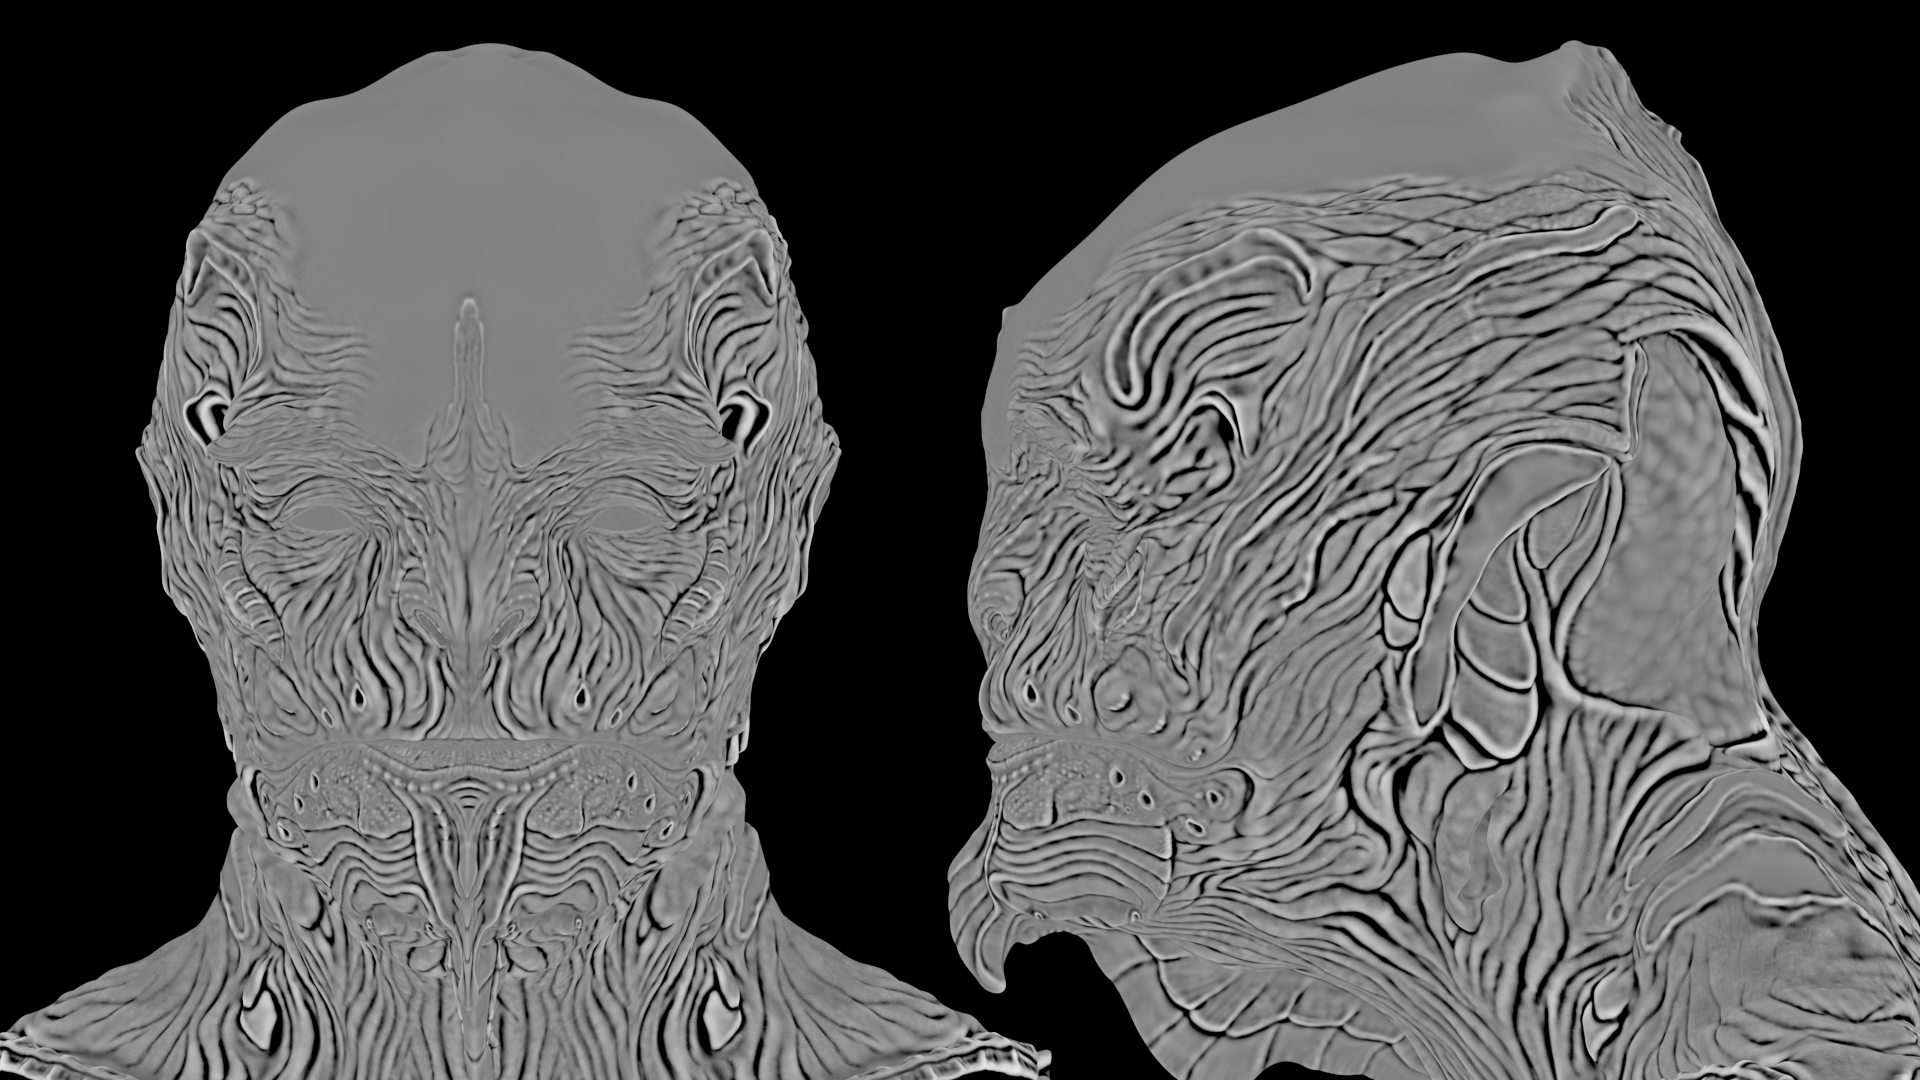
Once the sculpt was finalized in ZBrush, all I had to do was export the OBJ basemesh and an 8K displacement map. These two files are the key prerequisites for SKAP to accurately reproduce every detail of the original sculpt. With just these elements, SKAP can deliver a highly precise result faithful to your ZBrush work without extra steps or complicated setup.
SKAP
The SKAP workflow consists of using the online platform to generate new texture maps from your OBJ and displacement input. The process enhances the surface by adding high-frequency detail skin textures, micro-reliefs, and natural imperfections while keeping the overall structure and proportions of the original sculpt intact.
The result is a refined surface that preserves the artistic intent of the base model, while increasing realism and material richness for high-end rendering.
Before / After (DSP)
The processed model demonstrates a significant improvement in perceived realism. Added micro-detail helps the creature feel more believable,
while preserving its stylized identity.
A direct comparison between “ZBrush-only” and “ZBrush + SKAP” highlights the gain in surface quality, depth, and visual richness.
Before / After (DSP)
Outputs: Map Preview & 3D Result
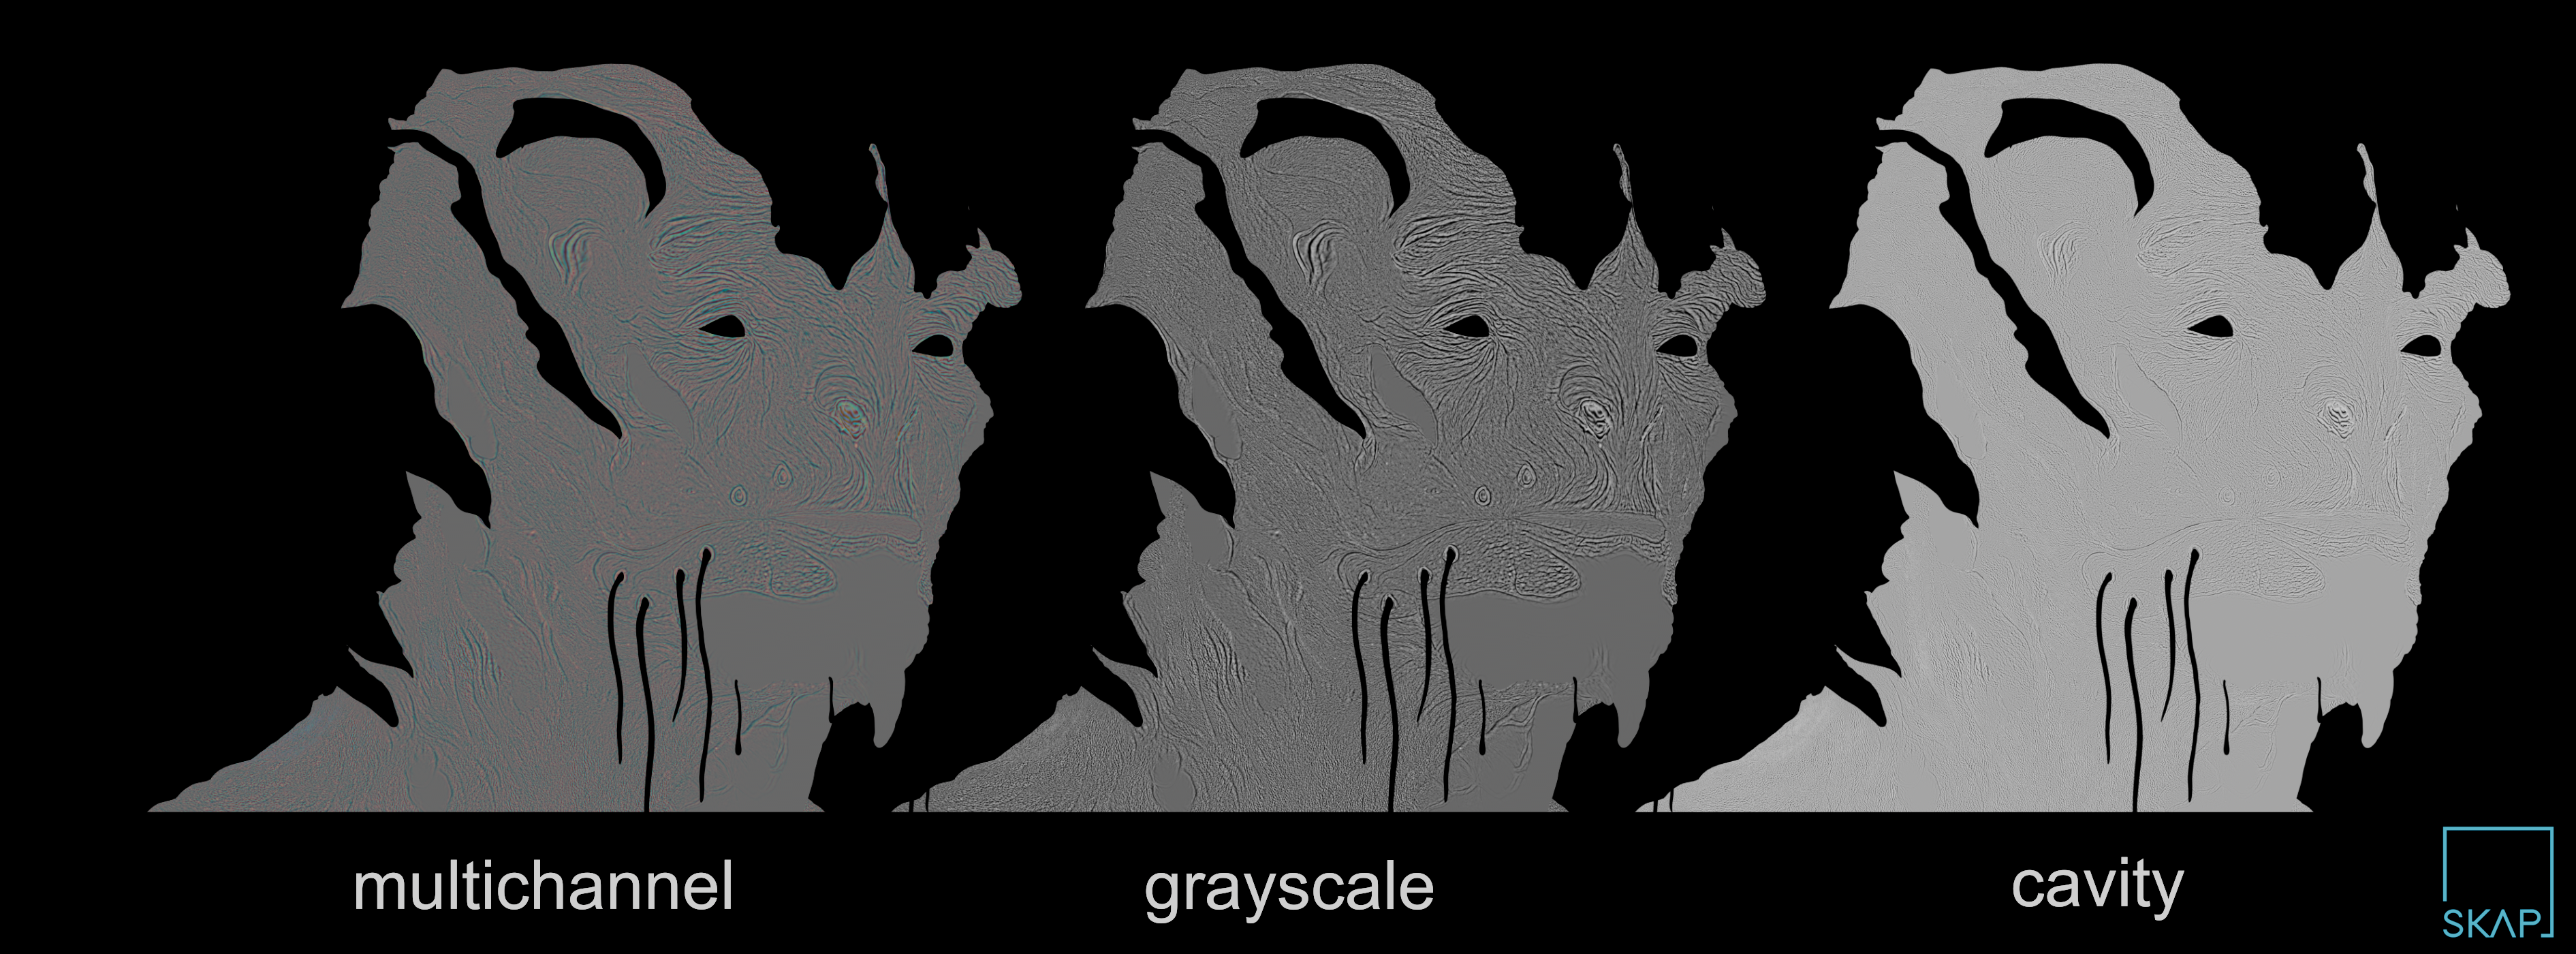
Here is a 2D preview of the SKAP output generated from the input displacement. This visualization helps review the distribution and coherence of micro-detail before applying it back onto the 3D model useful for validating the artistic direction and spotting areas that may need adjustment.
2D Maps preview (before / after)
3D preview (before / after)
Conclusion
I believe SKAP could really be a game changer in day-to-day workflows especially when you want a more artistic approach, as shown in this breakdown.
What I found most interesting is SKAP’s ability to interpret your input: the kind of details, their flow, and their directionality. When sculpting creature skin, you often have a specific “feel” in mind and SKAP lets you push that further while keeping your base sculpt intact and working on top of it.
To me, this tool is not only about enhancing, but also about exploring and that’s what makes it powerful for projects like this, where you need to think outside the box to achieve a unique result.
Finally, when you really want to push sculpting details, you may face technical barriers: extremely high-quality wrinkles and pores can demand huge polygon counts, and ZBrush has limits regardless of your machine. Since SKAP outputs very high resolution detail, you don’t need to force technical solutions inside ZBrush "you can stay focused on the creative side of your project".
To conclude I’d like to express my gratitude to the amazing team behind SKAP for giving me the chance to test it out and providing guidance in exploring such an innovative tool. A special thanks as well to those who helped me along the way on this project, especially Bruno Camara and Oleh Bozhko for helping me push the design and sculpt, Kimia Mashhadi Hosseini and Lisa Montagner for the help on the texturing side in Mari, and Ottaviano Brando for his insights for the look-dev and rendering process. I hope the information I shared in this breakdown could be helpful if you have any questions about my work feel free to reach out on Instagram, LinkedIn, or ArtStation.
GET STARTED
Get started with your own asset
Grab your .obj, your displace and you are ready to start your first SKAP project !

